


1 ChatGpt类项目
1.1 ChatGpt Web
项目地址:https://github.com/Chanzhaoyu/chatgpt-web
①安装docker
curl -fsSL https://get.docker.com -o get-docker.sh
sh get-docker.sh
②拉取镜像并启动容器
VPS:替换API_KEY直接运行
docker run \
       --name chatgpt-web \
       -p 3002:3002 \
       --env OPENAI_API_KEY=Your key \         ##输入你的API_KEY
       --restart always \
       -d chenzhaoyu94/chatgpt-web:latest
NAT:需更改端口以及填写API_KEY后运行
docker run \
       --name chatgpt-web \
       -p 替换端口:3002 \                        ##替换端口,填写商家给的端口
       --env OPENAI_API_KEY=Your key \         ##输入你的API_KEY
       --restart always \
       -d chenzhaoyu94/chatgpt-web:latest
搭建完成效果:

1.2 FreeGPT
项目地址:https://github.com/ramonvc/freegpt-webui
通过docker安装ChatGPT,无需账号,无需API,并绑定自己的域名
①安装docker
apt update && apt install docker.io -y②拉取镜像
docker pull ramonvc/freegpt-webui③启动容器
VPS:直接运行
docker run -d --restart=always -p 1338:1338 ramonvc/freegpt-webuiNAT:需更改端口后运行
docker run -d --restart=always -p 替换端口:1338 ramonvc/freegpt-webui ##替换端口,填写商家给的端口搭建完成效果:

1.3 ChatGpt-next-web
项目地址:https://github.com/Yidadaa/ChatGPT-Next-Web
①安装docker
## ubuntu
apt update && apt install docker.io -y
## centos
yum  update && yum install docker.io -y
②拉取镜像
docker pull yidadaa/chatgpt-next-web③启动容器
VPS:填写API_KEY以及登录密码后直接运行
docker run -d -p 3000:3000 \
   -e OPENAI_API_KEY="sk-xxxx" \
   -e CODE="your-password" \
   yidadaa/chatgpt-next-web
NAT:填写API_KEY以及登录密码,需更改端口后运行
docker run -d -p 替换端口:3000 \  ##替换端口,填写商家给的端口
   -e OPENAI_API_KEY="sk-xxxx" \
   -e CODE="your-password" \
   yidadaa/chatgpt-next-web
搭建完成效果:

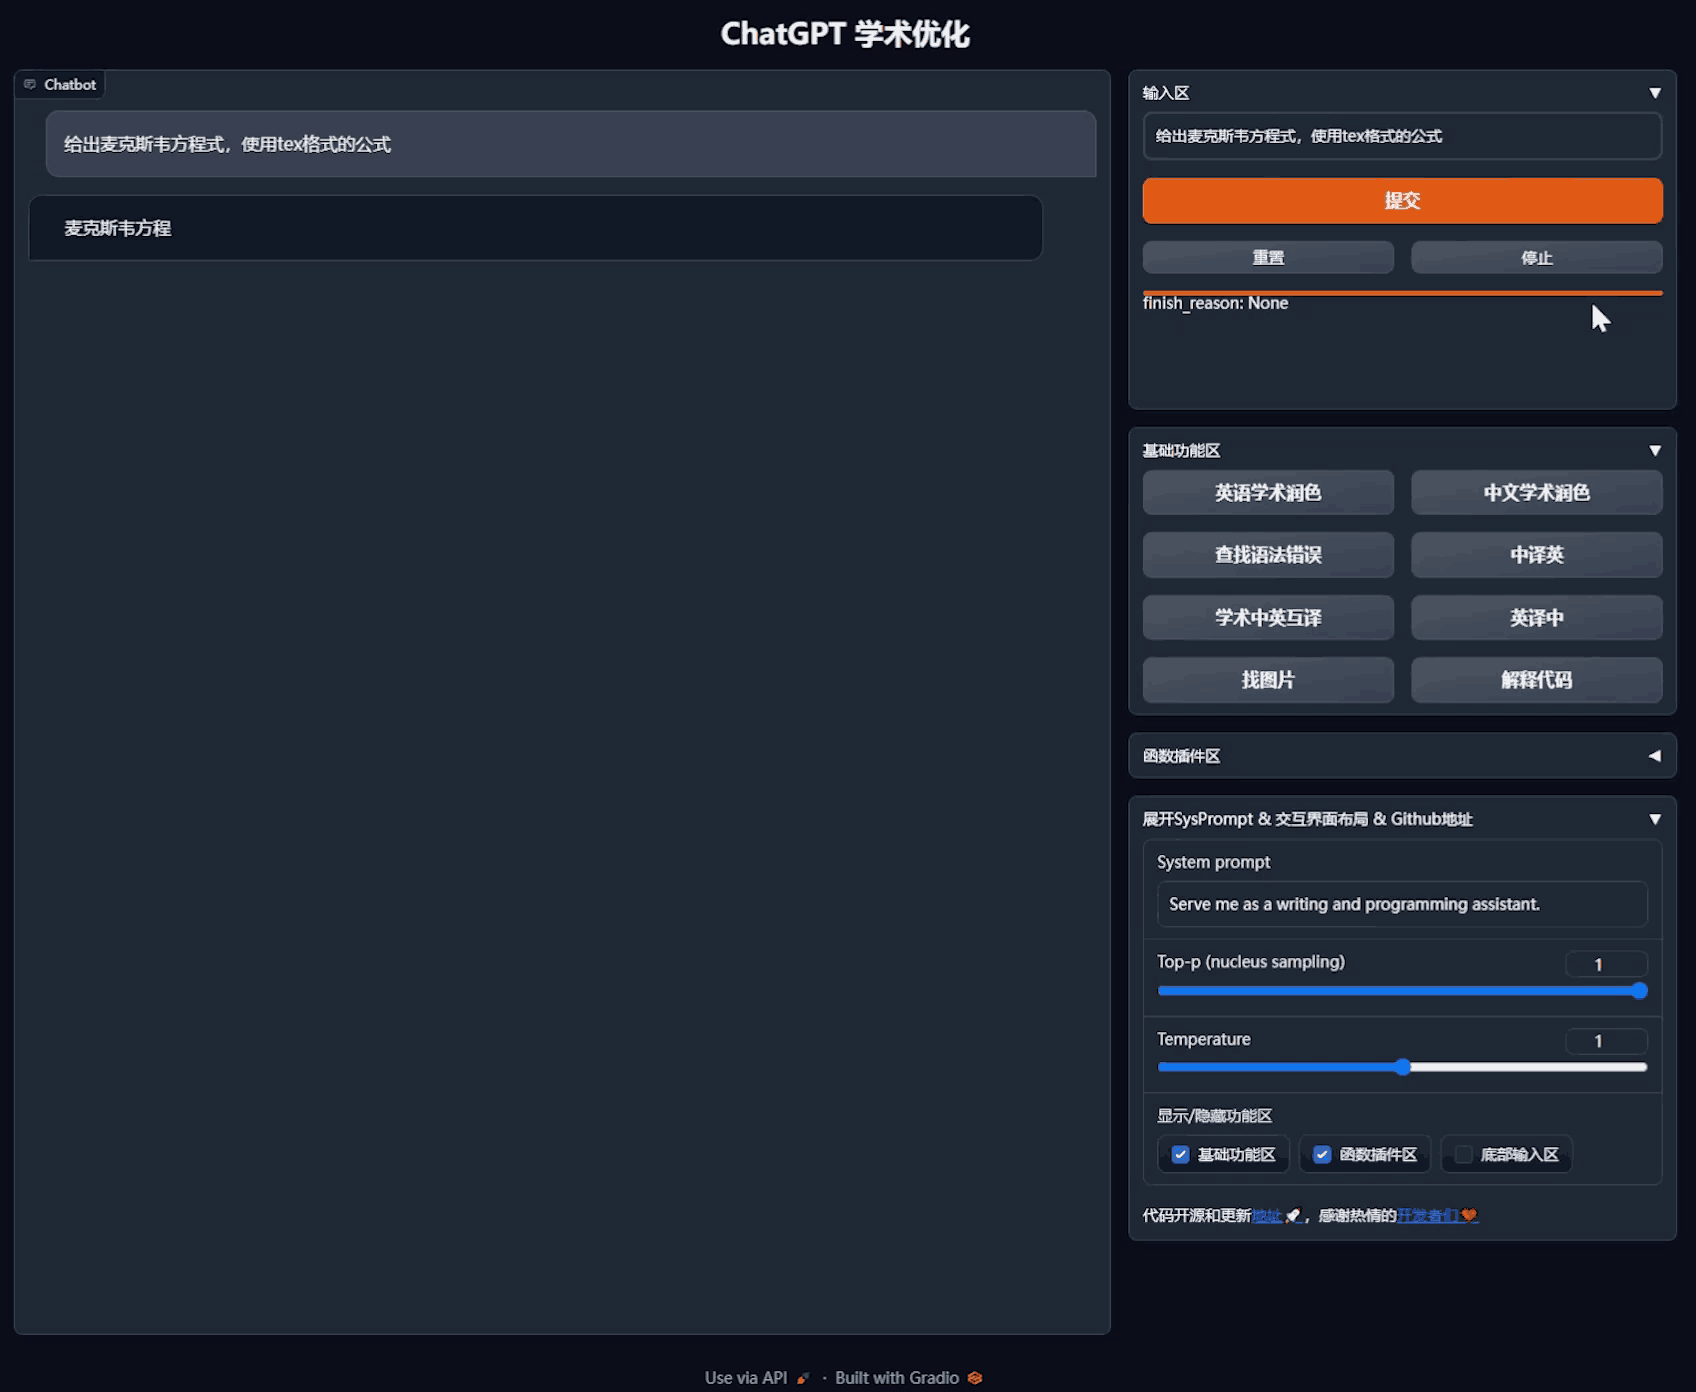
1.4 Gpt_academic
项目地址:https://github.com/binary-husky/gpt_academic
①安装docker
apt update && apt install docker.io -y②拉取镜像
git clone https://github.com/binary-husky/gpt_academic.git  # 下载项目
cd gpt_academic                                     # 进入路径
vim config.py                                      # 用任意文本编辑器编辑config.py, 配置 “Proxy”, “API_KEY” 以及 “WEB_PORT” (例如50923) 等
VPS:WEB_PORT随意
NAT:WEB_PORT填写商家所给的端口

docker build -t gpt-academic . # 安装③启动容器
docker run --rm -it --net=host gpt-academic搭建完成效果:
2 哪吒面板搭建
项目展示:


①安装宝塔面板
wget -O install.sh http://download.bt.cn/install/install-ubuntu_6.0.sh && bash install.sh②解析域名
前往CF添加DNS:

③github新建OAuth App
首先打开:https://github.com/settings/developers,然后点击New OAuth App按钮。

填写如下的URL:

记录下OAuth Apps的Client ID和Client secrets

④在面板服务器中,运行安装脚本
国外机:
curl -L https://raw.githubusercontent.com/naiba/nezha/master/script/install.sh -o nezha.sh && chmod +x nezha.sh && ./nezha.sh如果你的面板服务器位于中国大陆,可以使用镜像:
curl -L https://cdn.jsdelivr.net/gh/naiba/nezha@master/script/install.sh -o nezh脚本启动之后选择1安装面板端:

安装完成后默认github,然后依次输入刚才复制的Client ID和Client secrets,以及输入自己的github用户名(一定要输入自己的)。后面两个端口不更改即可。

⑤登录面板
做完这几步就已经能够登录面板了,使用:http://你的域名:8008 进入面板
点击登录:将会使用你的github账号进行登录。

进入设置更改域名

点击添加服务器进行添加主机:

添加之后,点击复制代码:

直接粘贴到要监控的机器:
如果出现-bash: sudo: command not found把命令中的sudo去掉即可。

刷新发现机器已经添加成功:


添加其它机子操作一致。
⑥设置监控
在报警中添加报警规则:
[{"type":"offline","duration":10}]
添加通知方式:
配置tgbot
哪吒面板,顶部导航栏,点报警,添加通知方式
https://api.telegram.org/botXXXXXX/sendMessage?chat_id=YYYYYY&text=#NEZHA#参数获取说明:botXXXXXX 中的 XXXXXX 是在 telegram 中关注官方 @Botfather ,输入/newbot ,创建新的机器人(bot)时,会提供的 token(在提示 Use this token to access the HTTP API:后面一行)这里 'bot' 三个字母不可少。创建 bot 后,需要先在 telegram 中与 BOT 进行对话(随便发个消息),然后才可用 API 发送消息。YYYYYY 是 telegram 用户的数字 ID。与机器人@userinfobot 对话可获得。

⑦使用宝塔反向代理
宝塔新建一个网站

设置ssl,并强制开启https

设置反向代理


把这个配置文件改为下面这个:
location /
{

proxy_pass http://127.0.0.1:8008;
proxy_set_header Host $host;
}
location /ws
{

proxy_pass http://127.0.0.1:8008;
proxy_http_version 1.1;
proxy_set_header Upgrade $http_upgrade;
proxy_set_header Connection "Upgrade";
proxy_set_header Host $host;
}
location /terminal
{
proxy_pass http://127.0.0.1:8008;
proxy_http_version 1.1;
proxy_set_header Upgrade $http_upgrade;
proxy_set_header Connection "Upgrade";
proxy_set_header Host $host;
}
这时候就可以输入你的域名访问后台了,无需:8008。
3 搭建Typecho博客
①搭建宝塔环境
## Centos安装脚本
yum install -y wget && wget -O install.sh [http://download.bt.cn/install/install_6.0.sh](https://iweec.com/go/aHR0cDovL2Rvd25sb2FkLmJ0LmNuL2luc3RhbGwvaW5zdGFsbF82LjAuc2g=) && sh install.sh ed8484bec

## Ubuntu/Deepin安装脚本
wget -O install.sh [http://download.bt.cn/install/install-ubuntu_6.0.sh](https://iweec.com/go/aHR0cDovL2Rvd25sb2FkLmJ0LmNuL2luc3RhbGwvaW5zdGFsbC11YnVudHVfNi4wLnNo) && sudo bash install.sh ed8484bec

## Debian安装脚本
wget -O install.sh [http://download.bt.cn/install/install-ubuntu_6.0.sh](https://iweec.com/go/aHR0cDovL2Rvd25sb2FkLmJ0LmNuL2luc3RhbGwvaW5zdGFsbC11YnVudHVfNi4wLnNo) && bash install.sh ed8484bec

## Fedora安装脚本
wget -O install.sh [http://download.bt.cn/install/install_6.0.sh](https://iweec.com/go/aHR0cDovL2Rvd25sb2FkLmJ0LmNuL2luc3RhbGwvaW5zdGFsbF82LjAuc2g=) && bash install.sh ed8484bec
②在aapanel中安装环境Nginx+php+ Mysql

③解析域名

④搭建Typecho:新建站点、建立数据库、上传Typecho和主题文件
新建站点:

申请证书:

Typecho下载地址:http://typecho.org/download

上传Typecho

上传joe主题:https://github.com/HaoOuBa/Joe

⑤安装博客、安装主题


数据库配置可在这查看:


进入控制台启用主题就可以了:

剩下的功能自己摸索吧~~~


[...]------------------------------------------------------------------------2 IPv6机科学上网IPv6科学上网分为两种情况,一种就是本地宽带有IPv6,另一种就是本地宽带没有IPv6仅仅开启了IPv4。2.1 安装warpwget -N https://gitlab.com/fscarmen/warp/-/raw/main/m[...]